
|
|
HeatShield
P.S page has a few images please let it load!
I have built this based on the fact that hot air is
lighter than cold air, hence it tends to flow up-wards
leaving heavier air under it.
The heatshield is simply made out of shipping cardboard
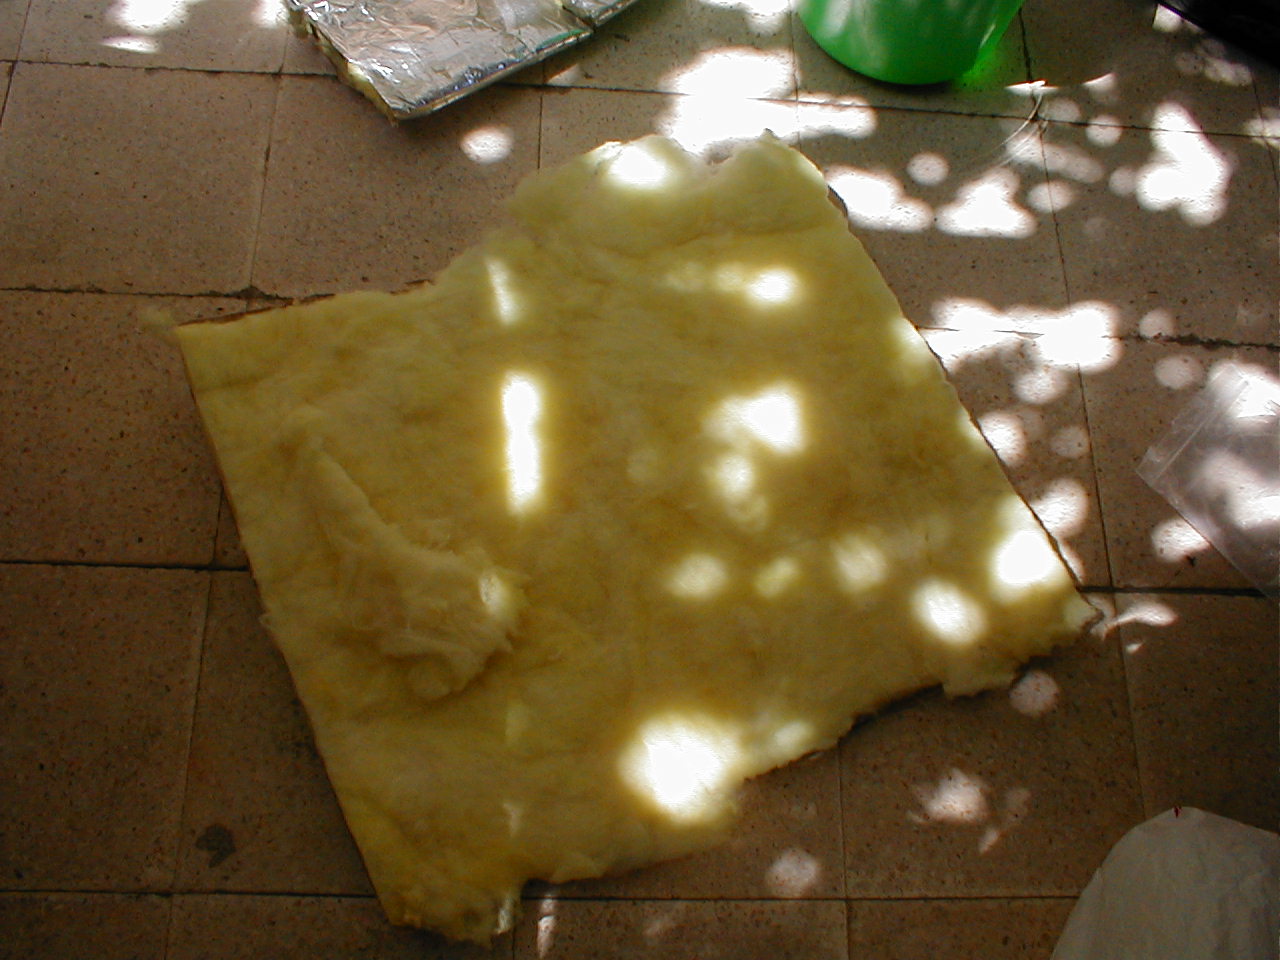
and this thermal insulator (which I used Fiber/aluminum, Fig. A).

** Fig.A
Thermal Insulator used in the heatshield, note the yellowish material is ITCHY
**
Now take the measurements that are needed, and this
is up to your experience, I can't tell you what the numbers
are because every car is a bit different! but use common sense.
after cutting the board and fitting it, everything should be well,
we can move to the next step and apply the heat shield material on
the cardboard, I have put it on both sides, some people would not
want to do so, but I wanted to for double protection! Use any means
you want to make the material stick and hold on the cardboard.
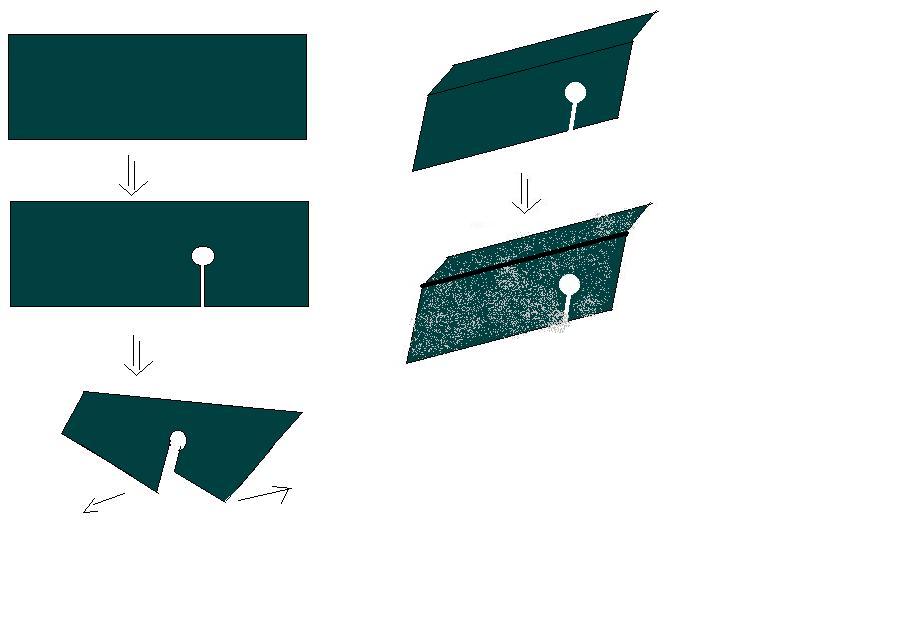
Fig. B should help understand the process from cutting the cardboard to applying
the heatshield material. NOTE, don't start to build STEP 1 until you've read all
of this page.
** Fig.B **
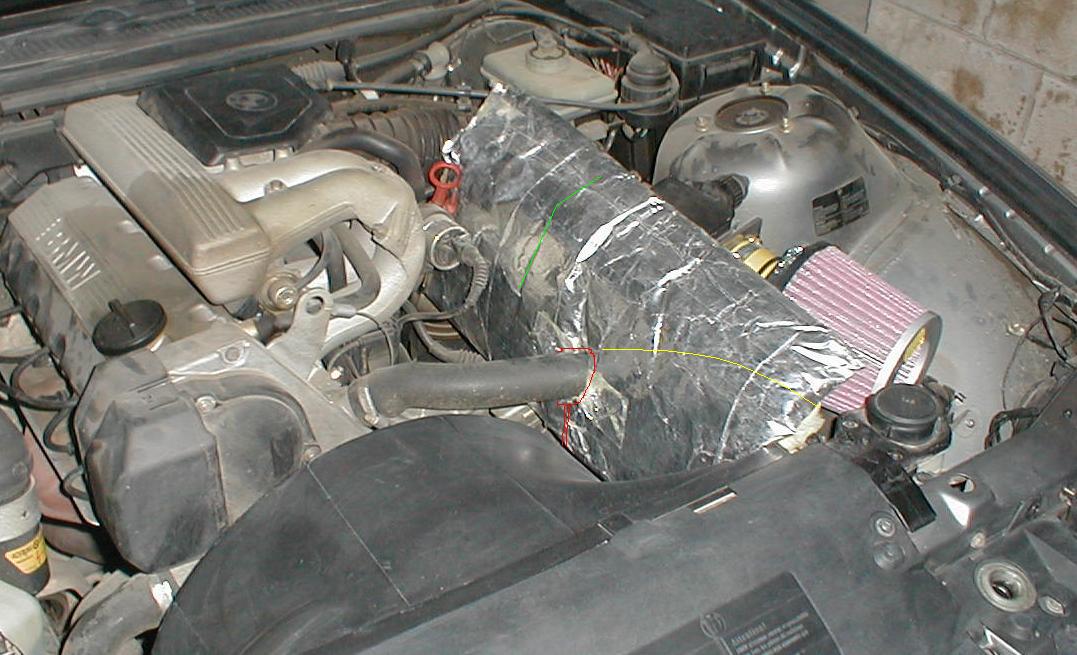
Fig.1 shows were the heatshield is placed, and as you
can see, there is this water cooling pipe in the middle,
I went over this by making a hole in the shipping cardboard
that is slightly larger in diameter than the pipe, and then
I made a cut from the lower part of the circle all the way
to the end of the carton. (refer to Fig B for the sketch).
That way, when I want to install or uninstall this peace, I'd
easily hold the two (separate) parts and pull them away
from each other, hence making it possible to lift it up and
away from the pipe.
** Fig.1
Ok, so far so good (hopefully). Now notice in fig.1 how
the top of the heatshield is kinda bended towards the cone
filter. I did this in order to secure that no heat or hot air
is able to escape to the cone! Diagram C shows how.

now, from fig.1 you can also see that the water pipe, goes
through the heatshield, but were does it go? the yellow drawings
show were it is located behind that shield. And since this gets
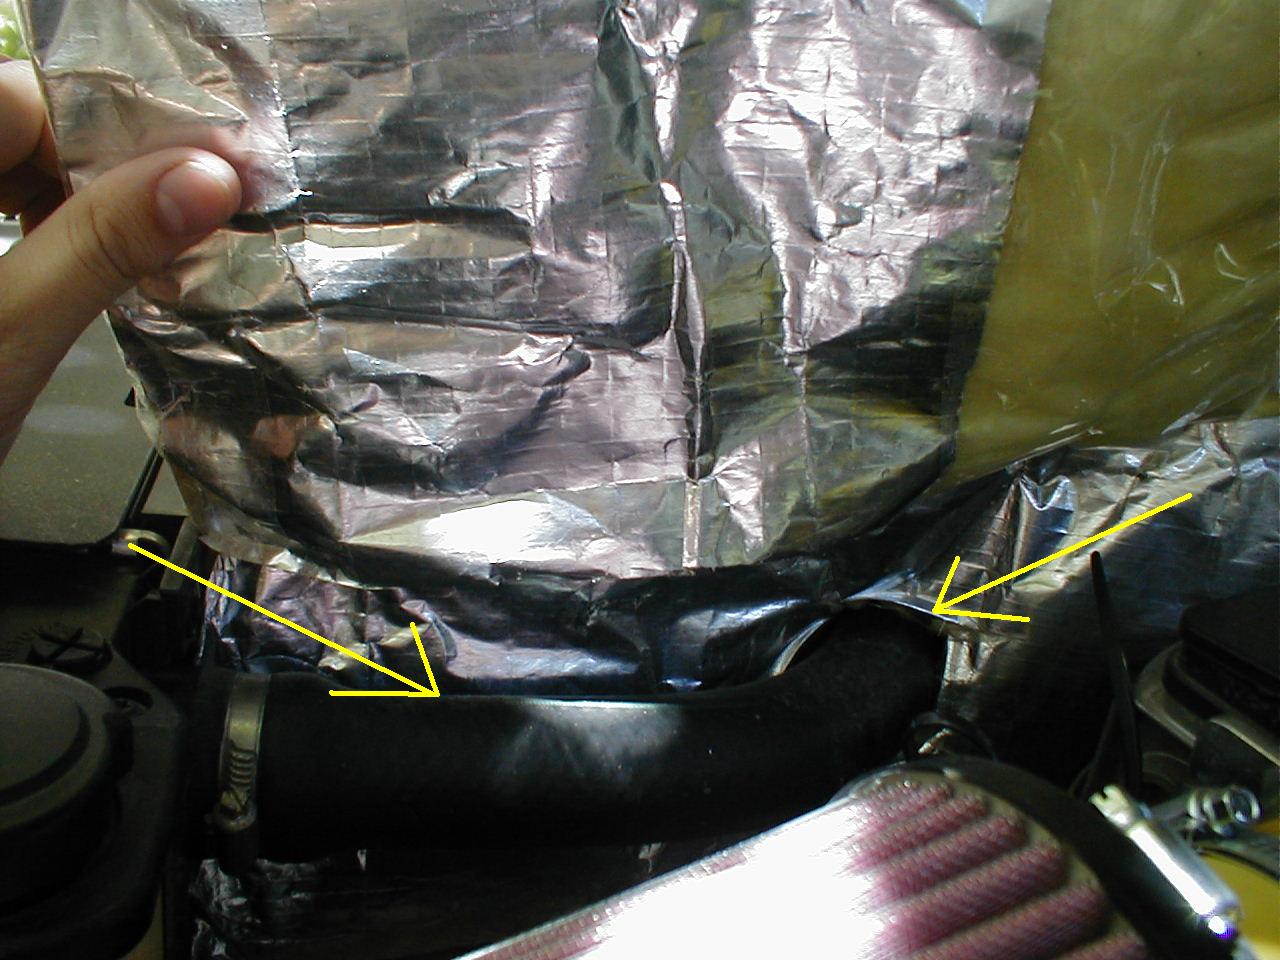
really really hot, it can effect the air surrounding the cone, so
what I did was take a small peace of the fiber/aluminum heat
shield material and cover the pipe that is showing.

This should cover the "making your own heatshield" subject.
To see how the heatshield should look like after it is done, and after it is
installed, go to Step III.